Track Sensors
Racing Track Sensors come in all sizes and shapes. Selecting the correct sensor is important as this will help detect the car based on the scale you are racing in. This page will describe each sensor in order below and how each sensor works. Just click on the Highlighted Sensor to be directed to it !
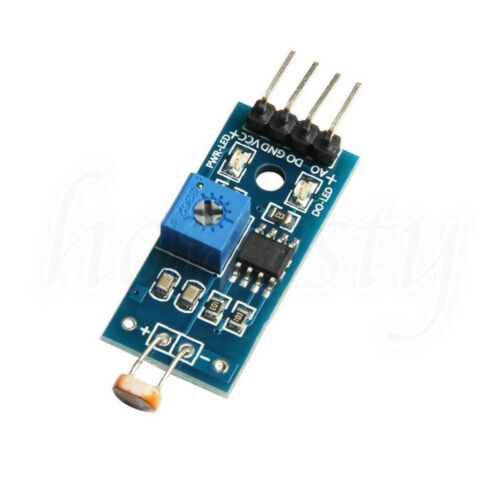
The most used sensors for Slot Car Tracks are the CDS “Phototransistor” module. They are powered from 3-5 vdc and can be adjusted to the light sensitivity. When the sensor is covered by a car or wheel the light is blocked and it sends a signal to the main board activating an effect. This type is mainly used under the tracks surface and a small hole is drilled with the little round CSD cell flush to track.
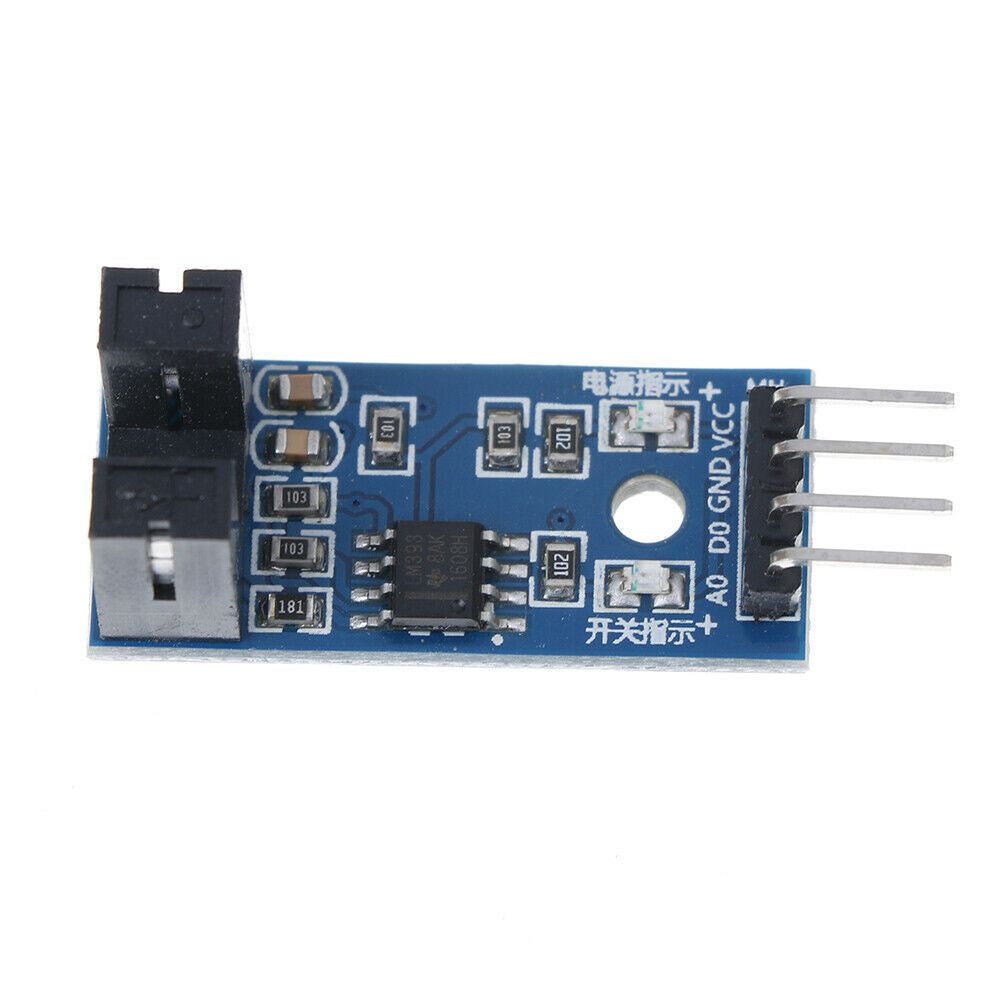
The next type of sensor is the “Slot Type” Photodetector, it also uses from 3-5 vdc and is mounted below the track in the Slot Lane. When the Slot Cars Blade passes this detector the Blade blocks the IR to the Detector and sends a Signal to the main board to count laps or trigger an event. These are mostly used on DIY Club Tracks where you can mount the detector below the layout. A longer Blade is needed on the car to trigger the sensor.
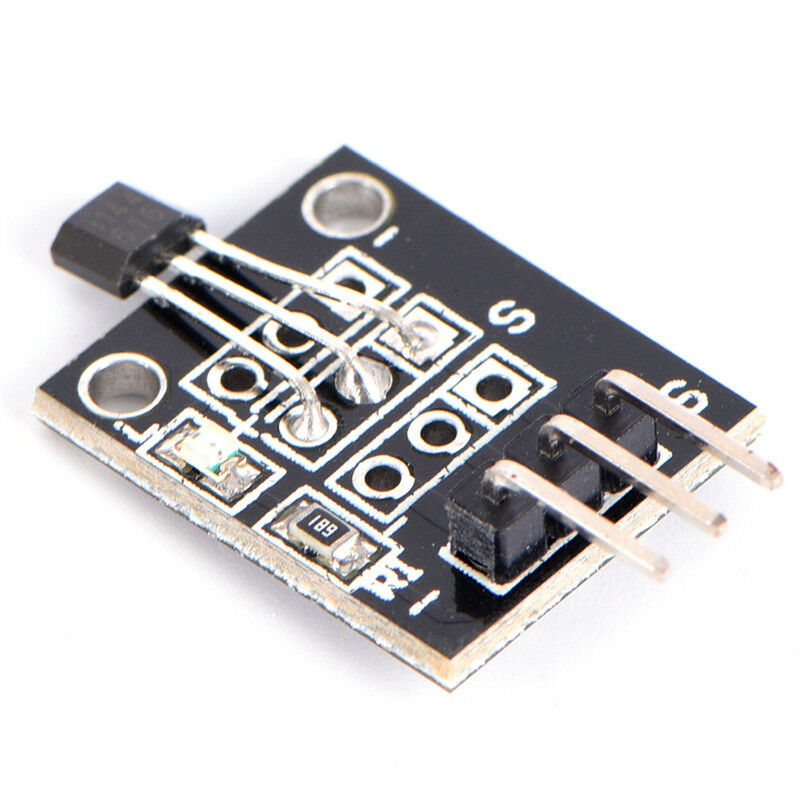
The next type sensor is the “Hall Effect Sensor“. This type contains a small transistor type component that can detect a magnetic field. As the car passes the sensor the it opens a small circuit sending a signal to the main board to activate a result. These run on 5vdc.
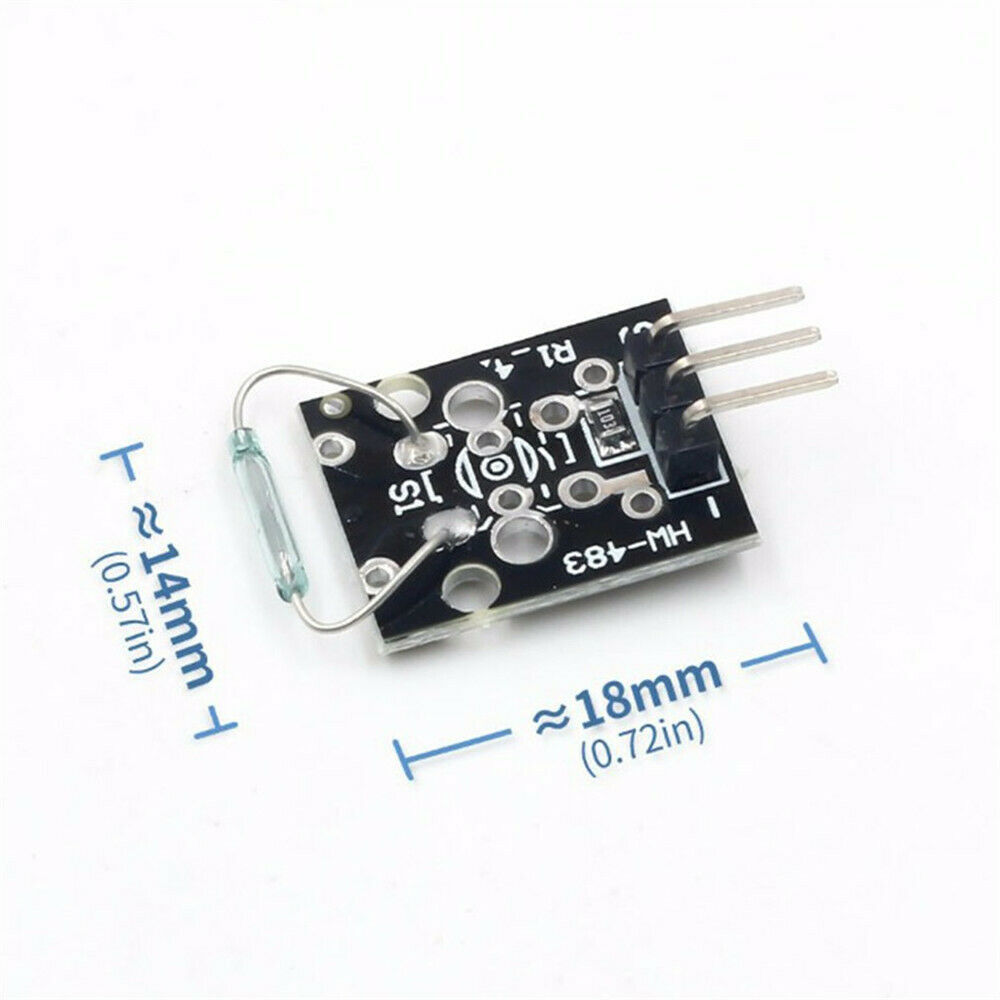
The next Sensor type is the “Magnetic Reed Module“. This small board acts the same way as the Hall Effect board but uses a small reed of metal that when a magnet is passed close to it, the reed is pulled and touches the other reed making a closed contact circuit. Operates on3-5vdc
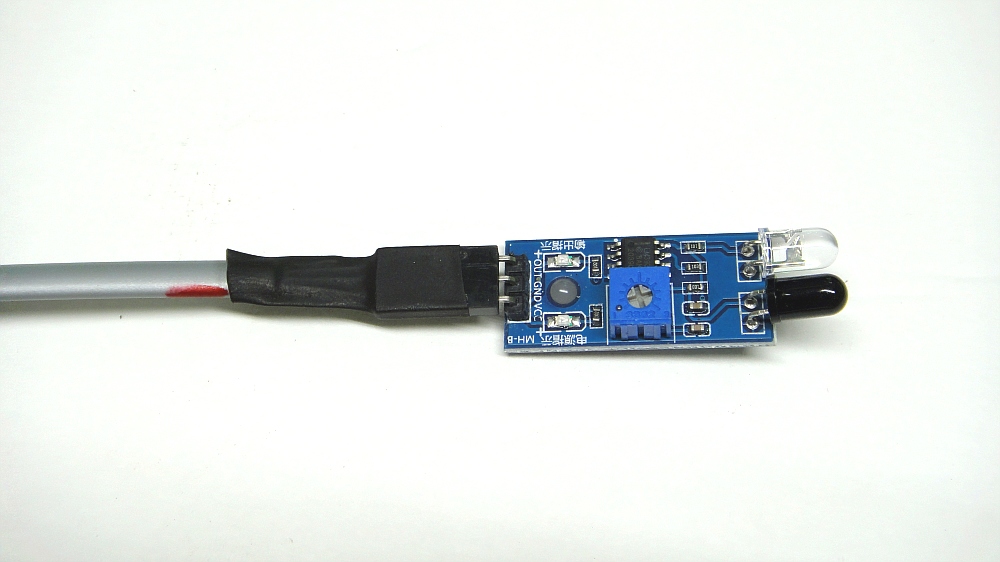
The next in line is our “IR Infrared Module“. This unit can be set under or along side the track to detect a passing car. The sensor can be adjusted from 2 ~ 30cm of detection. It has a IR LED that sends out IR light and when and object reflects back that IR light it is detected by the IR detector LED. Runs on 3-5 vdc and sends out a signal when it detects an object.
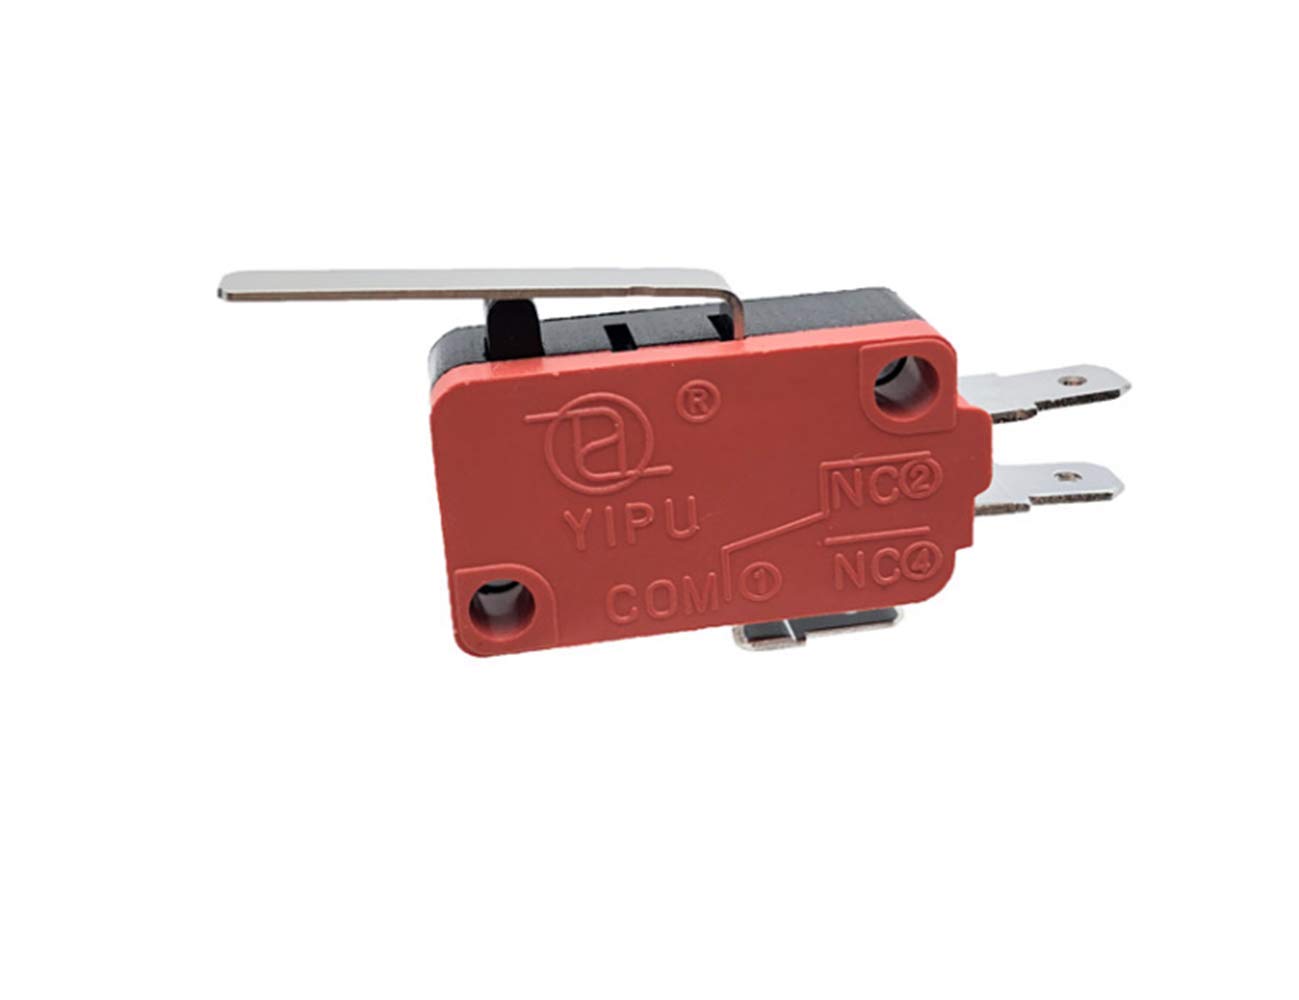
The next is not a sensor but a switch, it’s the “Lever Arm Switch”. Being a switch no power is necessary, once an object pass by and presses on the lever arm, it closes or opens the switch. These operate from any voltage ac or dc. How you set them up is up to you.
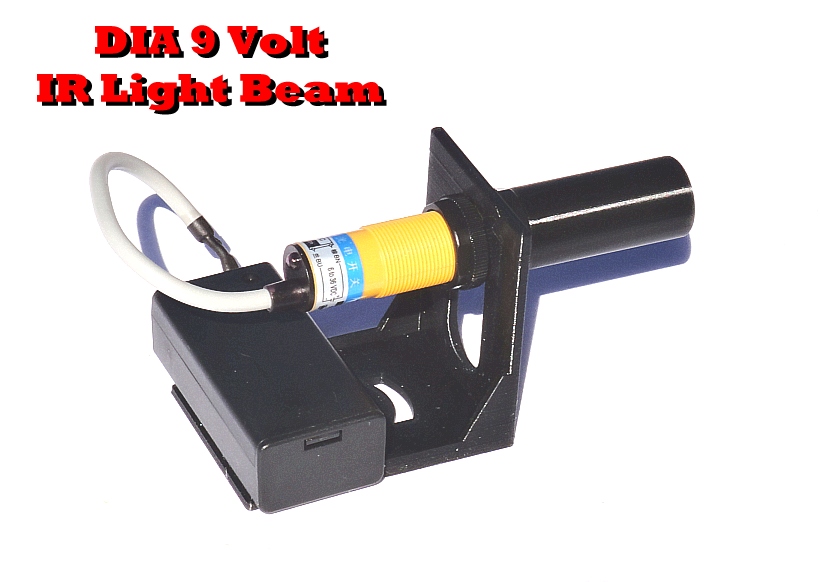
Now its time for the Big Boy Toy Sensors. The “Drag Racing Beam Sensors”. These sensors are what the NHRA® and IRHA® and other Outlaw Track boys use. These send out a LASER or Infrared light that reflects off a beam reflector or is detected by the Laser Detector. You would set the reflector on the center line of the track and the Emitter on the edge of the track. You must adjust the height of the sensor for detecting ether the Tires or Body of Car. They run off 3-5 volt battery power. Once the beam is broken, a “LOW” or Negative signal is sent through a wire or wireless unit back to the main unit. You need 1 set for every location you wish to detect like Start & Finish or Speed traps.
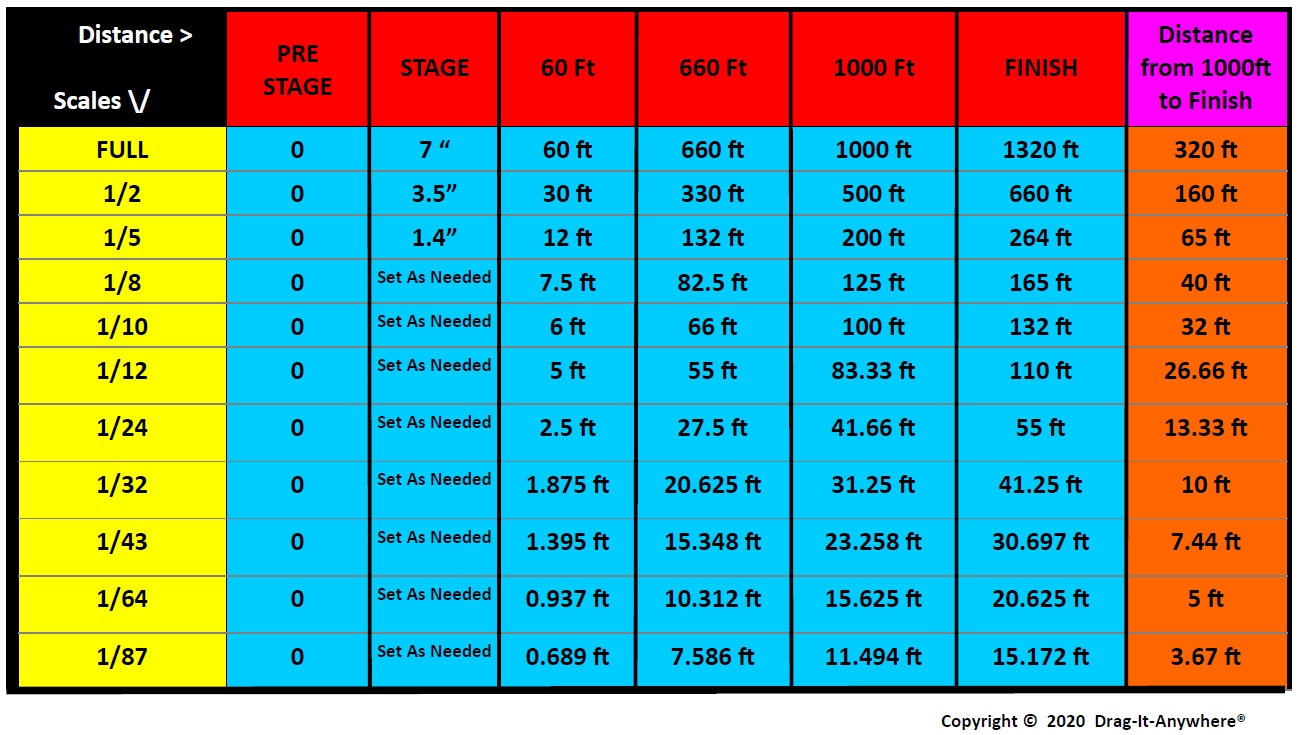
See the Below Chart for Sensor Positions based on your Scale. When running Data cables from DIA unit to Sensor always add 2-3 feet of cable !!
TRACK SENSOR POSITIONS BASED ON SCALE
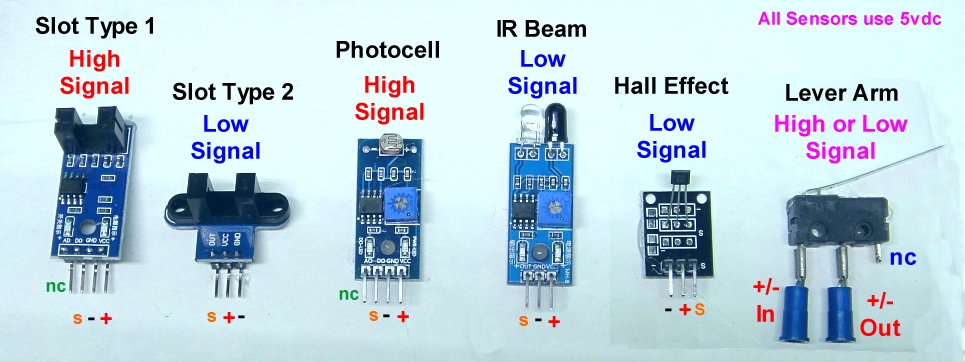
Below is a guide to understand how to connect the sensors with the correct polarity and if you need to set your DIA menu settings for the Sensors to ether HIGH or LOW Detect. A High detect means that the Sensor is outputting a HIGH 5v + voltage until the Sensor is Blocked telling the DIA a car has passed or is covering a Sensor. LOW detect would be a LOW or Negative – Output and is waiting for a HIGH 5v voltage signal to detection a car passing the sensor.
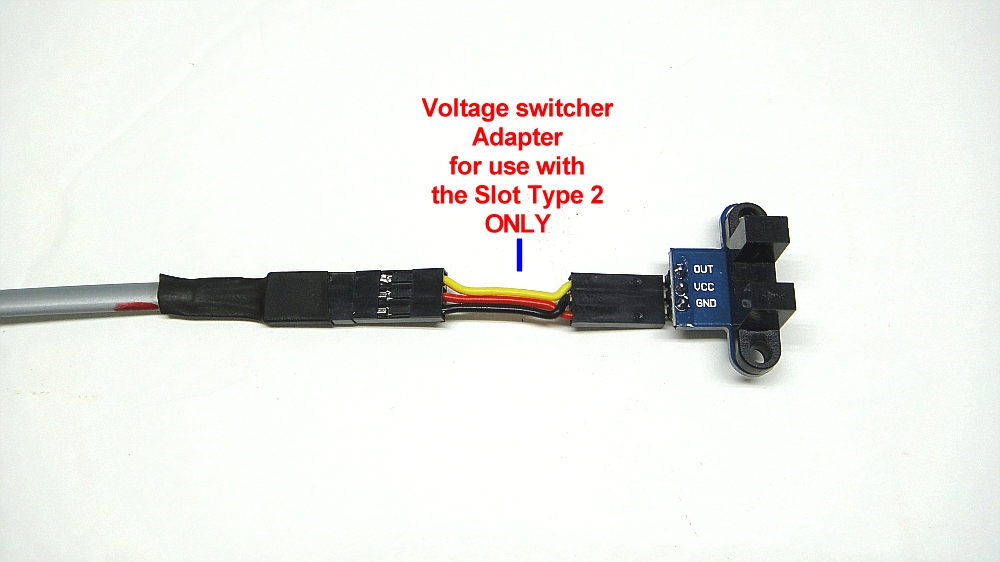
Only the Slot Type 2 will need a Voltage Reverse Adapter so the voltage is connected correctly to that sensors type. If using a Hall Effect, Magnetic Sensor, or a lever Arm switch, you must correctly wire yourself and set DIA to detect HIGH or LOW as needed.
You can MIX sensors so long as they have the same HIGH or LOW outputs, so a Slot Type 1 can be used with a Photocell sensor.
For correct positioning of the Sensors please see our Start & Finish Display page.
